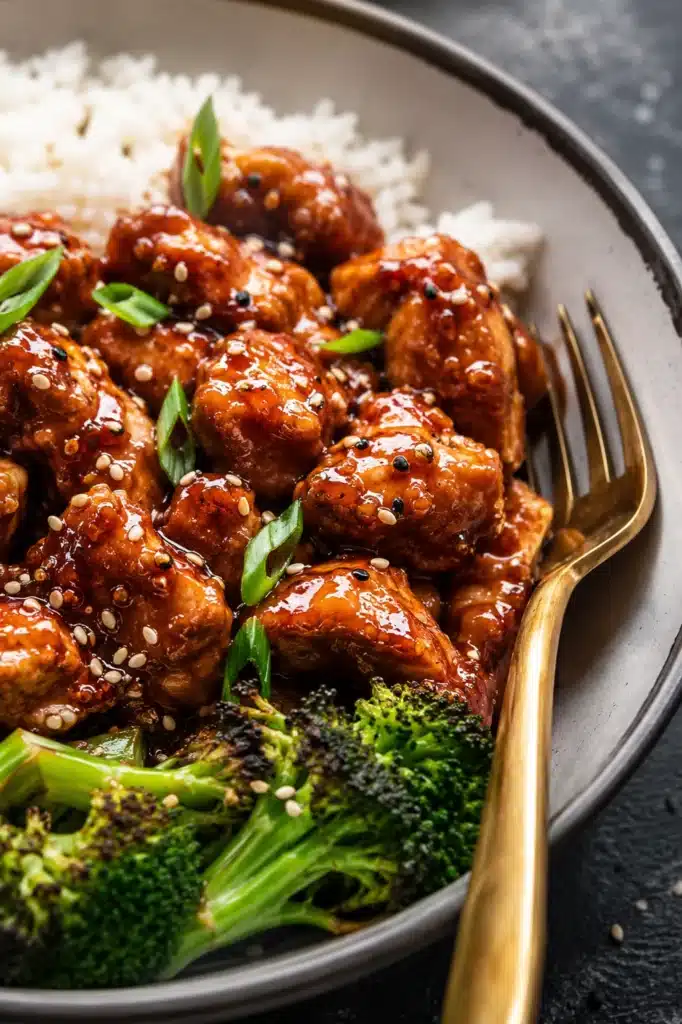
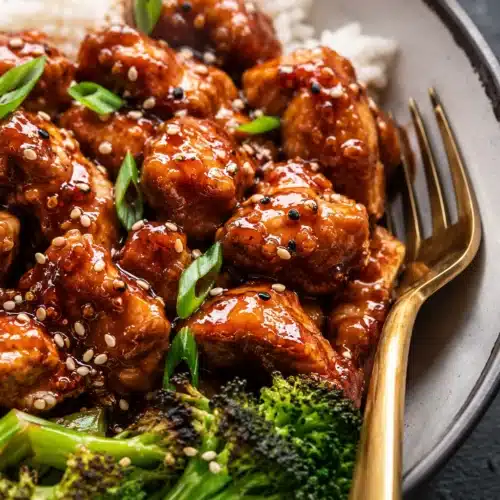
Sticky Sesame Chicken is a quick and comforting dinner that tastes just like your favorite takeout. Ready in only 30 minutes, this crispy chicken recipe brings together sweet, savory, and tangy flavors in every bite.
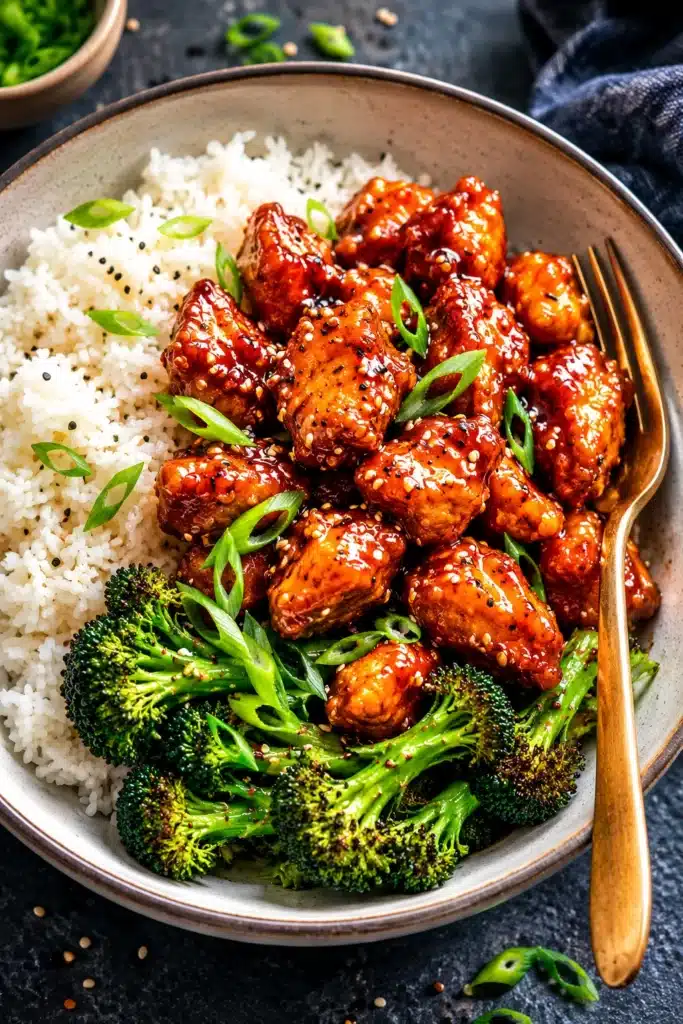
Table of Contents
Why You’ll Love This Sticky Sesame Chicken
Sticky Sesame Chicken is one of those recipes that works for busy weeknights and relaxed family dinners alike. It comes together fast, yet it tastes like something you ordered from a restaurant. Even better, you can make it with simple pantry ingredients.
The chicken turns golden and crispy in the skillet. Meanwhile, the homemade sauce thickens into a glossy coating that clings to every piece. As a result, each bite delivers the perfect balance of texture and flavor.
Another reason to love this recipe is its flexibility. You can serve it over rice, noodles, or vegetables. You can also double the sauce if you enjoy extra sauce for drizzling.
Additionally, this Sticky Sesame Chicken stores well, making it great for meal prep. Since it reheats beautifully, leftovers stay delicious for days.
What Makes This Recipe Better Than Takeout?
This Sticky Sesame Chicken gives you complete control over the ingredients. You can adjust the sweetness, reduce the sodium with low sodium soy sauce, or add extra vegetables.
Also, homemade versions often taste fresher than takeout. The chicken stays crisp, while the sauce develops a rich flavor from honey, sesame oil, and soy sauce. Best of all, you can have dinner on the table in about 30 minutes.
Flavor, Texture, and Family-Friendly Appeal
The flavor combines sweet honey, savory soy sauce, tangy vinegar, and nutty sesame oil. Together, they create a sauce that tastes rich without feeling heavy.
Meanwhile, the crispy chicken provides a satisfying crunch before the sticky sauce coats every piece. Since the flavors are balanced and approachable, even picky eaters usually enjoy this meal.
Sticky Sesame Chicken Ingredients
This recipe uses everyday ingredients that you may already have in your kitchen. Each ingredient contributes to the signature flavor and texture that make Sticky Sesame Chicken so popular.
| Ingredient | Purpose |
|---|---|
| 🍗 Chicken Breasts | Main protein that stays juicy and tender. |
| 🥚 Eggs | Helps the coating stick to the chicken. |
| 🌾 Flour | Creates a light and crispy outer layer. |
| 🥄 Cornstarch | Adds crunch and thickens the sauce. |
| 🍯 Honey | Provides sweetness and the signature sticky texture. |
| 🥢 Soy Sauce | Adds rich savory flavor and depth. |
| 🌰 Sesame Oil | Brings a warm, nutty sesame flavor. |
| 🍚 Rice | Perfect base for soaking up the sticky sauce. |
Ingredients for the Crispy Chicken
You will need 4 boneless skinless chicken breasts cut into 1½ inch pieces. For the coating, prepare 2 beaten eggs, 6 tablespoons all purpose flour, and 3 tablespoons cornstarch.
Additionally, use 4 tablespoons vegetable oil for frying. This simple coating creates a crisp outer layer that holds up well once the sauce is added. The combination of flour and cornstarch helps create a light crunch without deep frying.
Ingredients for the Sticky Sesame Sauce
For the sauce, combine 6 tablespoons honey, 4 tablespoons ketchup, 3 tablespoons sugar, 1 tablespoon brown sugar, 2 tablespoons white vinegar, 3 tablespoons soy sauce, 1 tablespoon toasted sesame oil, ½ teaspoon salt, and 1 teaspoon garlic powder.
Next, mix 1 tablespoon cold water with 2 tablespoons cornstarch to create a slurry. This mixture thickens the sauce and gives it the glossy finish that Sticky Sesame Chicken is known for. Finally, prepare sesame seeds and chopped green onions for garnish.
How to Make Sticky Sesame Chicken
This Sticky Sesame Chicken comes together in a few simple steps. Follow the process carefully, and you will get crispy chicken coated in a thick, flavorful sauce.
Prepare the Sweet and Savory Sesame Sauce
First, whisk together the honey, ketchup, sugar, brown sugar, vinegar, soy sauce, sesame oil, salt, and garlic powder in a bowl.
Mix until smooth. Then set the sauce aside while you prepare the chicken. Having the sauce ready before cooking helps the process move quickly once the chicken is finished.
Coat the Chicken for a Crispy Finish
Place the beaten eggs in one bowl, the flour in a second bowl, and the cornstarch in a third bowl.
Next, dip each chicken piece into the egg. Then coat it in flour and finally in cornstarch. This three step coating creates a crispy exterior that stays crunchy even after adding the sauce.
Work in batches if needed. As a result, the coating remains even and light.
Pan-Fry the Chicken Until Golden Brown
Heat the vegetable oil in a large skillet over medium heat. Once the oil is hot, add the coated chicken pieces.
Cook for 5 to 10 minutes, turning occasionally. Meanwhile, watch for an even golden brown color. The chicken should be fully cooked and crispy on the outside.
Transfer the cooked chicken to a paper towel lined plate. Then carefully remove excess oil from the skillet before making the sauce.
Thicken the Sauce and Coat the Chicken
Pour the prepared sauce into the skillet and bring it to a gentle boil.
Meanwhile, stir the cold water and cornstarch together until smooth. Then whisk the slurry into the simmering sauce. Continue stirring until the sauce thickens and becomes glossy.
Reduce the heat. Next, return the cooked chicken to the skillet and toss until every piece is coated evenly. The sauce should cling beautifully to the crispy chicken.
Garnish and Serve
Serve the Sticky Sesame Chicken over cooked white rice while it is hot.
Then sprinkle sesame seeds and chopped green onions on top. The garnish adds freshness and texture. If desired, add extra sauce over the rice for even more flavor.
Best Tips for Perfect Sticky Sesame Chicken
A few simple techniques can make a big difference when preparing Sticky Sesame Chicken. These tips help create better texture and flavor every time.
Secrets for Extra Crispy Chicken
Pat the chicken dry before coating it. Also, avoid overcrowding the skillet because crowded chicken steams instead of browning.
Cook in batches if necessary. Furthermore, keep the oil at a steady medium heat. Consistent heat helps the coating become crisp and golden.
How to Get the Perfect Sticky Sauce Consistency
Allow the sauce to reach a gentle boil before adding the slurry. Then whisk continuously as it thickens.
If the sauce becomes too thick, add a splash of water. However, if it seems thin, let it simmer a little longer. The goal is a glossy sauce that coats the chicken evenly.
Easy Recipe Variations and Substitutions
Boneless skinless chicken thighs work just as well as chicken breasts. Additionally, low sodium soy sauce helps reduce salt content.
You can also serve this dish with basmati rice instead of standard white rice. For garnish, fresh cilantro makes a nice alternative to green onions.
Serving Suggestions

Sticky Sesame Chicken pairs well with many side dishes. Since the sauce is rich and flavorful, simple accompaniments work best.
Best Rice Options for Serving
Classic white rice remains the most popular choice. It absorbs the sticky sauce beautifully and balances the bold flavors.
However, basmati rice offers a lighter texture and subtle aroma. Brown rice also works well if you prefer a heartier option.
Vegetables and Side Dishes That Pair Well
Steamed broccoli, green beans, or snap peas add freshness and color. Meanwhile, roasted vegetables provide a delicious contrast to the sweet sauce.
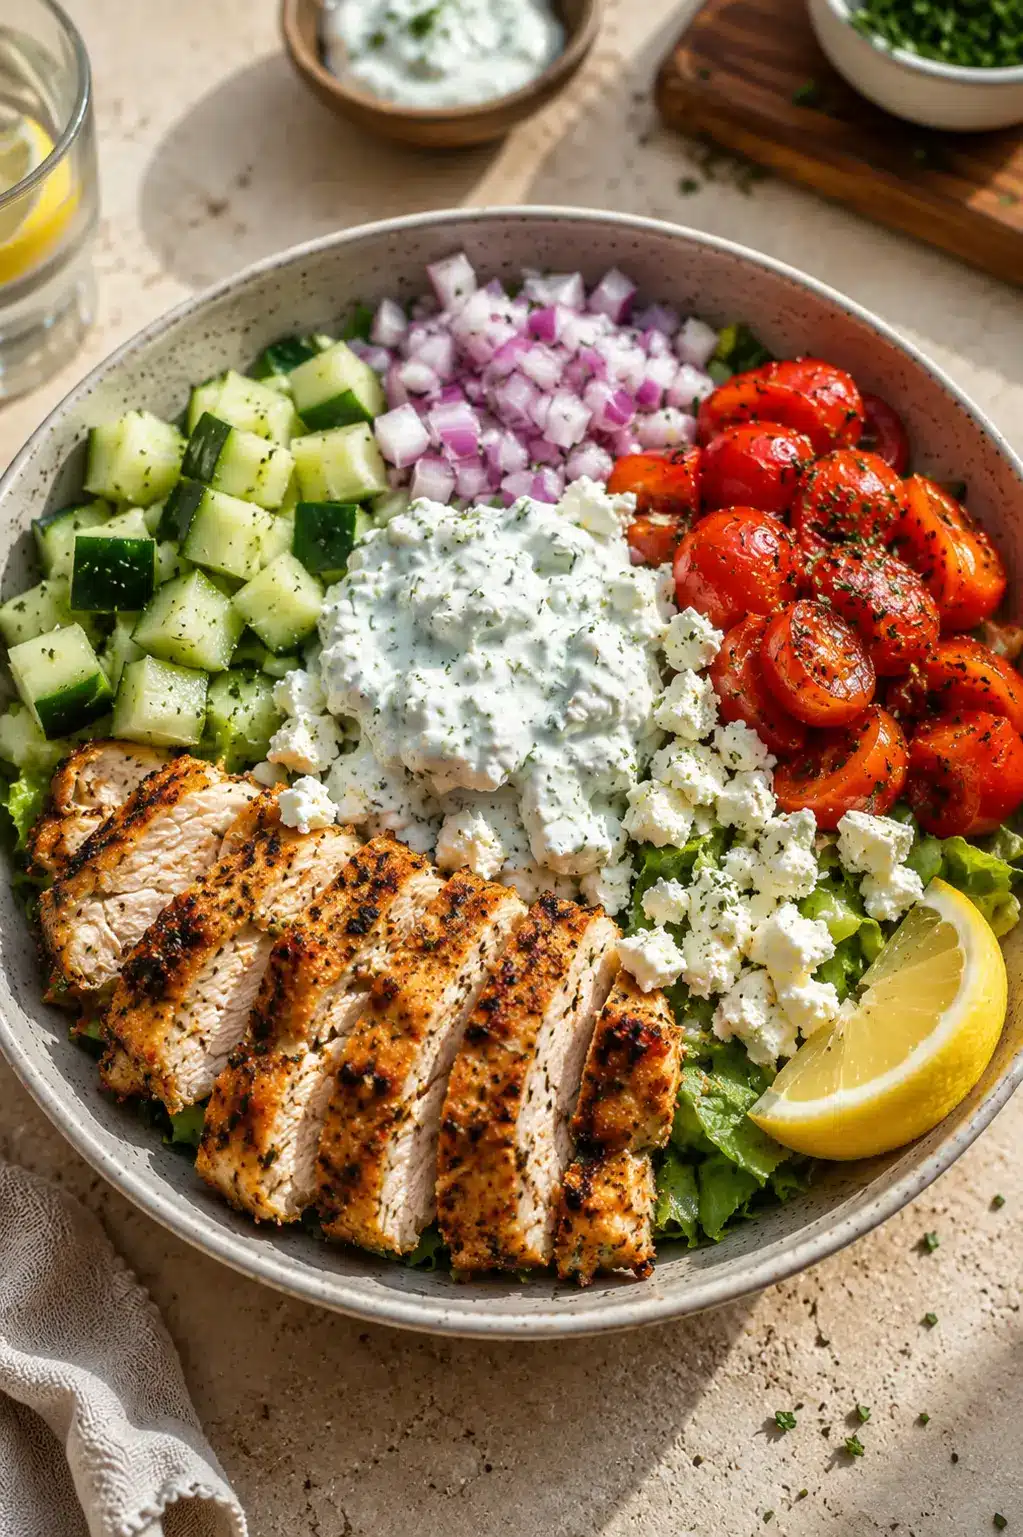
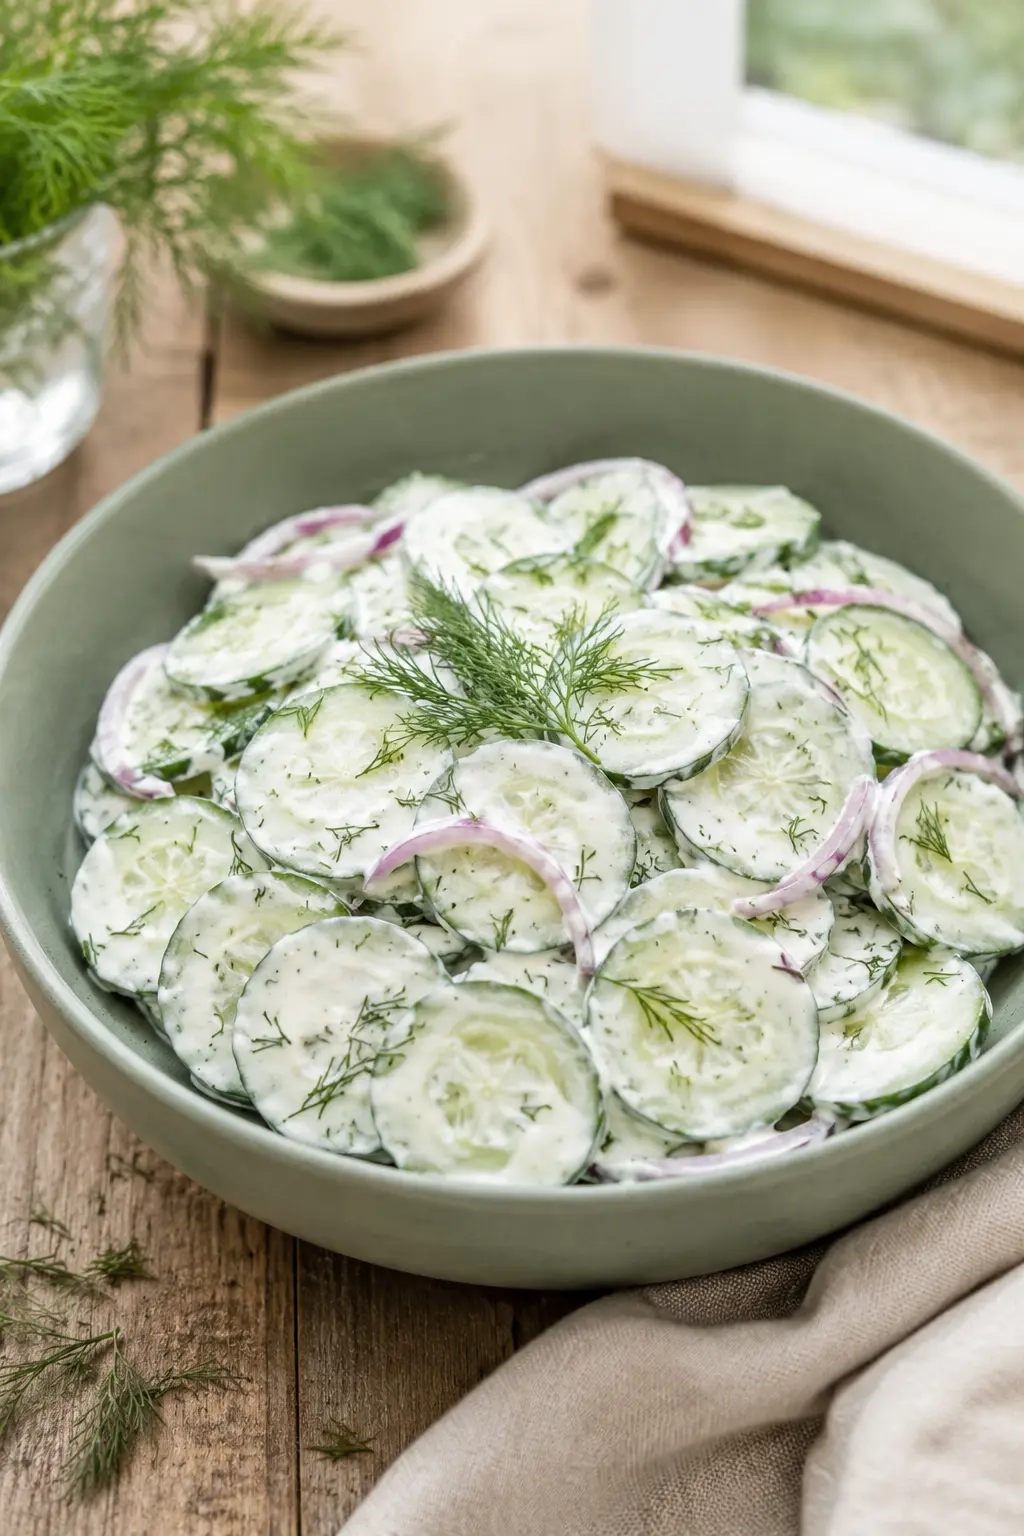
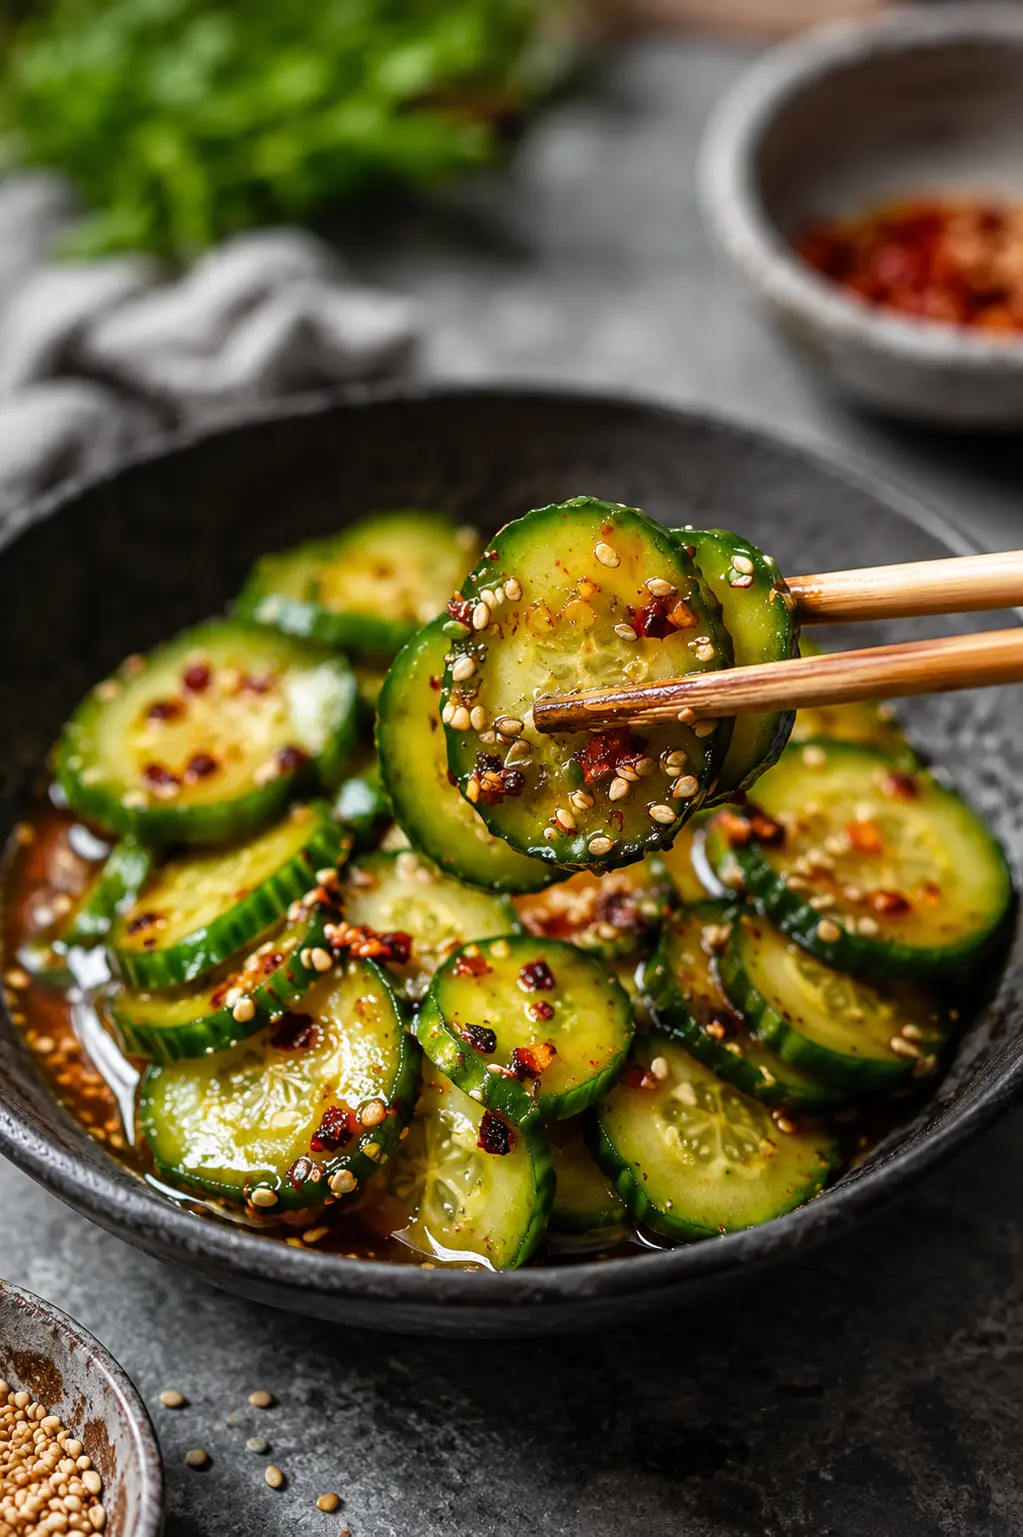
A crisp cucumber salad also pairs nicely with the rich flavors of Sticky Sesame Chicken.
Make It a Complete Takeout Style Meal
Serve the chicken with rice and vegetables for a complete dinner. Then add egg rolls or potstickers if you want a restaurant inspired meal at home.
As a result, you can enjoy a satisfying takeout style dinner without leaving your kitchen.
Storage, Freezing, and Reheating Instructions
Sticky Sesame Chicken stores well and tastes great the next day. Therefore, it is an excellent choice for meal prep.
How to Store Leftovers Properly
Place leftovers in an airtight container and refrigerate for up to 5 days.
Allow the chicken to cool before storing. This helps maintain better texture and flavor.
Freezing Tips for Meal Prep
Store cooled Sticky Sesame Chicken in a freezer safe airtight container.
Freeze for up to 5 months. Then thaw overnight in the refrigerator before reheating.
The Best Way to Reheat Sticky Sesame Chicken
Reheat in a skillet over medium heat until warmed through. You can also use a microwave for convenience.
If needed, add a little extra sauce or water to restore moisture and keep the chicken flavorful.
Common Mistakes to Avoid
Avoiding a few common errors can help you achieve restaurant quality Sticky Sesame Chicken every time.
Why Your Chicken Isn’t Crispy
Too much moisture on the chicken can prevent crisping. Also, overcrowding the pan lowers the temperature and causes steaming.
Instead, cook in batches and maintain steady heat.
Why Your Sauce Is Too Thin or Too Thick
Adding the slurry too early can affect the texture. Therefore, wait until the sauce reaches a boil.
Likewise, adding too much cornstarch can create an overly thick sauce. Measure carefully for the best results.
Timing Tips for the Best Texture
Do not let the chicken sit in the sauce for too long before serving. Otherwise, the coating may soften.
Instead, toss the chicken in the sauce just before serving for the best texture.
Frequently Asked Questions
Can I Use Chicken Thighs Instead of Chicken Breasts?
Yes. Boneless skinless chicken thighs work very well in this recipe. They stay juicy and flavorful during cooking. Additionally, many people enjoy their richer taste. Simply cut them into similar sized pieces and follow the same instructions.
Can I Make Sticky Sesame Chicken Ahead of Time?
Yes. You can prepare the sauce and coat the chicken ahead of time. Then store them separately until ready to cook. This method helps maintain the best texture. As a result, dinner comes together even faster.
Is This Recipe Good for Meal Prep?
Absolutely. Sticky Sesame Chicken stores well and reheats nicely. Therefore, it is a great option for weekly meal prep. Portion it with rice and vegetables for convenient lunches or dinners.
Can I Use Low Sodium Soy Sauce?
Yes. Low sodium soy sauce works perfectly in this recipe. It reduces the overall salt content while still providing savory flavor. Many people prefer this option for a lighter taste.
What Can I Use Instead of White Rice?
Basmati rice is an excellent substitute. Brown rice also works well and adds extra fiber. Meanwhile, noodles or steamed vegetables make great alternatives if you want something different.
Craving More Delicious Recipes?
- Visit our Home Page: https://www.vumeso.com/
- Browse more Chicken Recipes: https://www.vumeso.com/chicken-recipes/
You can also find more meal inspiration on our Pinterest profile: https://www.pinterest.com/vumeso_recipes/ and save favorites from our Chicken Recipes board: https://www.pinterest.com/vumeso_recipes/chicken-recipes-youll-love/
Sticky Sesame Chicken
Equipment
- Large skillet
- Mixing bowls
- Whisk
- Tongs
Ingredients
- 4 boneless skinless chicken breasts, cut into 1½-inch pieces
- 2 eggs, beaten
- 6 tbsp all-purpose flour
- 3 tbsp cornstarch, for coating
- 4 tbsp vegetable oil
- 3-4 cups cooked white rice, for serving
- sesame seeds, for garnish
- chopped green onions, for garnish
- 6 tbsp honey
- 4 tbsp ketchup
- 3 tbsp sugar
- 1 tbsp brown sugar
- 2 tbsp white vinegar
- 3 tbsp soy sauce
- 1 tbsp toasted sesame oil
- ½ tsp salt
- 1 tsp garlic powder
- 1 tbsp cold water
- 2 tbsp cornstarch, for slurry
Instructions
- Whisk together the honey, ketchup, sugar, brown sugar, white vinegar, soy sauce, toasted sesame oil, salt, and garlic powder. Set the sauce aside.
- Place beaten eggs, flour, and cornstarch in separate bowls.
- Dip each chicken piece first in egg, then flour, then cornstarch until evenly coated.
- Heat vegetable oil in a large skillet over medium heat. Cook the chicken for 5 to 10 minutes, turning occasionally, until browned, crispy, and fully cooked.
- Transfer the chicken to a paper towel-lined plate. Remove excess oil from the skillet.
- Pour the prepared sauce into the skillet and bring it to a boil.
- Mix cold water with 2 tablespoons cornstarch to make a slurry. Whisk it into the sauce until thickened.
- Reduce the heat, return the chicken to the skillet, and toss until every piece is coated in the sticky sesame sauce.
- Serve over cooked white rice. Garnish with sesame seeds and chopped green onions.
Notes
Final Thoughts
Sticky Sesame Chicken delivers everything people love about takeout in a simple homemade recipe. It is quick, flavorful, and satisfying. Plus, it uses everyday ingredients that are easy to find.
Why This Sticky Sesame Chicken Deserves a Spot in Your Dinner Rotation
This Sticky Sesame Chicken combines crispy texture, a rich sticky sauce, and easy preparation. Because it is ready in only 30 minutes, it fits perfectly into busy schedules. Whether you serve it for family dinner or meal prep, this recipe consistently delivers great results.